
Overview:
In IoT era, where everything is integrated, It is almost impossible to find someone without a mobile device! Any user with an internet connection could potentially be a customer of your application. So, It is your job to ensure that they have a best user experience on your website.
Responsive web design makes your application look good on all the devices!
In the good old days we used to identify the functional test cases which are being executed in every cycle (smoke/regression tests) or data-driven test cases for automation. We used to avoid any UI related test cases as much as possible considering the difficulties in automating that. Now, in the fast paced application development and continuous production deployment, We can not avoid this any longer!
There are many commercial tools for this type of testing if your organization is ready to pay for it! If you are like me, looking for some open source solution, then I would like to show you, how I do the responsive web design testing using Ocular library.
Sample Application:
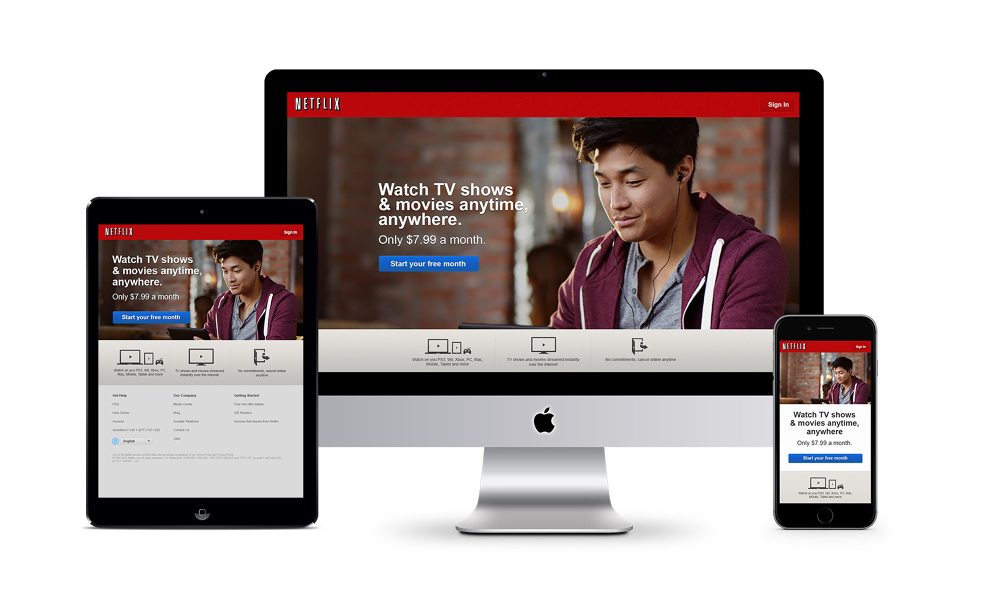
I am going to consider the few pages of the famous Netflix application for the responsive web design testing.
- Home Page
- ‘Choose Your Plan’ page
- Plan Page

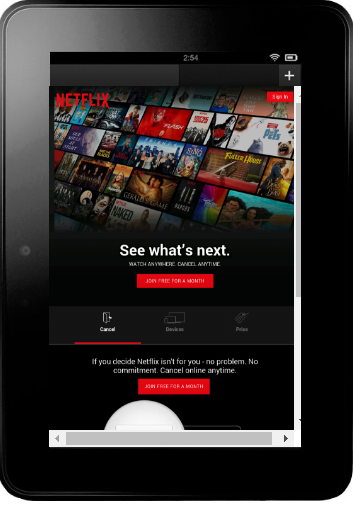
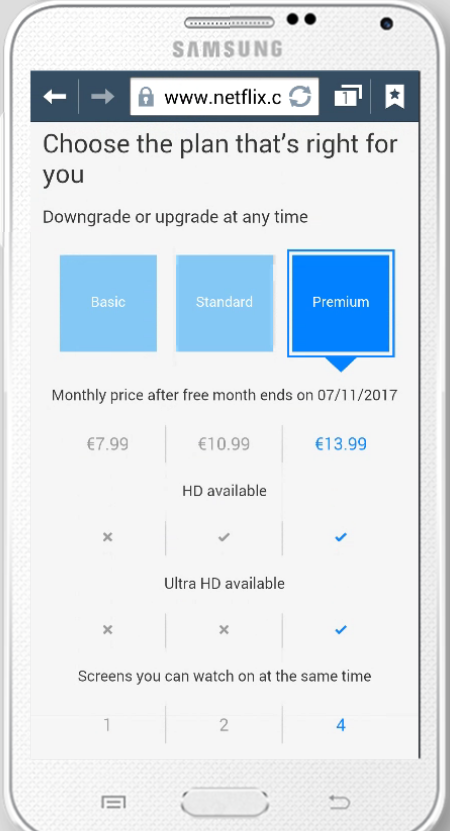
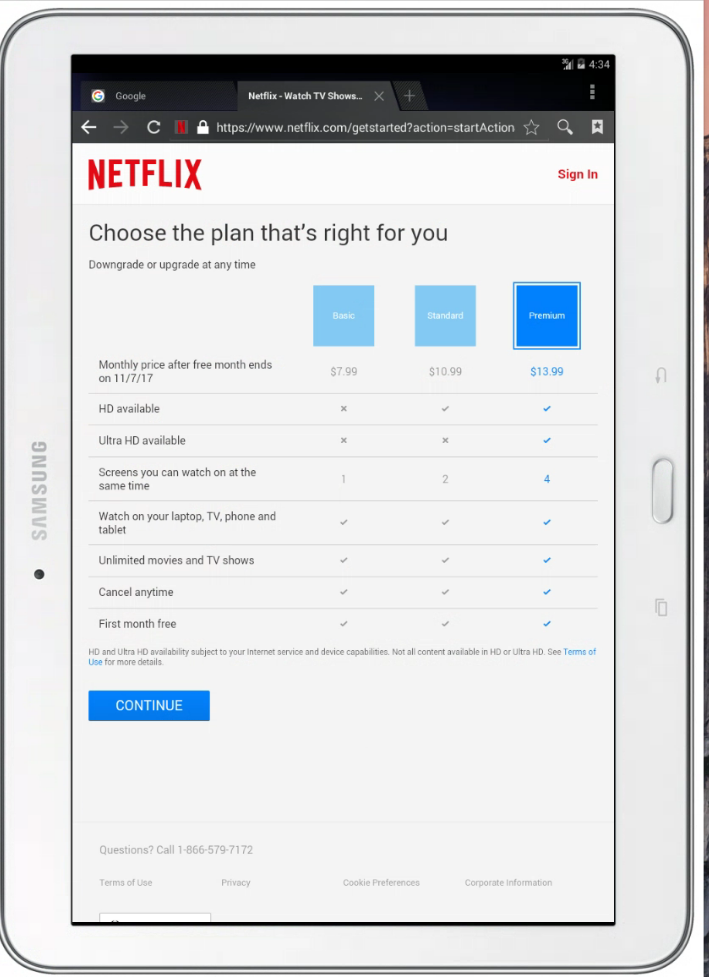
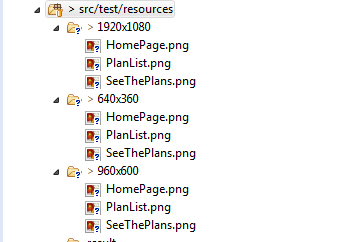
Baseline Images:
In order to do the responsive web design testing, we need to have the baseline images. If you do not have, It is fine. Ocular library, during the very first run, takes the screenshots and stores them in appropriate folders. So that, when you run next time, It uses those baselines to compare and gives the results.
We need to maintain the baselines for various dimensions/devices we are interested in as shown here.
Page Objects:
I create few page objects as shown here.
- BasePage which contains the reusable compare method – this compare is responsible for verifying the current page against the baseline image.
abstract class BasePage {

    protected final WebDriver driver;

    public BasePage(WebDriver driver) {
        this.driver = driver;
        PageFactory.initElements(driver, this);
    }

    public OcularResult compare() {
        return Ocular.snapshot()
                        .from(this)
                      .sample()
                           .using(driver)
                      .compare();
    }

}- Netflix Home Page – It assumes there is a baseline image ‘HomePage.png’ . If there are multiple HomePage.png for different resolutions, we will configure it at run time for which one to choose.
@Snap("HomePage.png")
public class HomePage extends BasePage {

    @FindBy(css = "button.btn-large")
    private WebElement joinFreeForAMonth;

    public HomePage(WebDriver driver) {
        super(driver);
    }

    public SeeThePlans clickOnJoinButton() {
        this.joinFreeForAMonth.click();
        return new SeeThePlans(driver);
    }
}- Choose Your Plans Message Page.
@Snap("SeeThePlans.png")
public class SeeThePlans extends BasePage {

    @FindBy(css = "button.nf-btn-primary")
    private WebElement seeThePlansBtn;

    public SeeThePlans(WebDriver driver) {
        super(driver);
    }

    public PlanList clickToSeeThePlans() {
        this.seeThePlansBtn.click();
        return new PlanList(driver);
    }

}- Plans List
@Snap("PlanList.png")
public class PlanList extends BasePage {

    public PlanList(WebDriver driver) {
        super(driver);
    }

}- TestN Test
public class ResponsiveDesignTest {

    WebDriver driver;

    @Test
    public void test() throws InterruptedException {

        HomePage home = new HomePage(driver);

        //verify home page
        Assert.assertTrue(home.compare().isEqualsImages());

        SeeThePlans seeThePlans = home.clickOnJoinButton();

        //verify 'Choose your Plan' message page
        Assert.assertTrue(seeThePlans.compare().isEqualsImages());

        PlanList planList = seeThePlans.clickToSeeThePlans();

        //verify Plans List page
        Assert.assertTrue(planList.compare().isEqualsImages());
    }


    @BeforeTest
    @Parameters({ "dimension"})
    public void beforeTest(String dimension) {

         //Ocular config - Ocular should look for the baseline image depends on the dimension or device
        Path snapShotPath = Paths.get("./src/test/resources/", dimension);
        Ocular.config()
                .snapshotPath(snapShotPath)
                .resultPath(Paths.get("./src/test/resources/result"));

        //Launch Browser with the dimension or use appium driver to test on mobile devices
        driver = new ChromeDriver();
        driver.get("https://www.netflix.com");

        int width = Integer.parseInt(dimension.split("x")[0]);
        int height = Integer.parseInt(dimension.split("x")[1]);

        driver.manage().window().setSize(new Dimension(width, height));
    }

    @AfterTest
    public void afterTest() {
        driver.quit();
    }
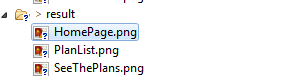
}- Based on the dimension we passed to the test, Ocular will get the baseline image and will compare against the actual image and gives us the results automatically (difference would be highlighted in the images under the result folder).

Summary:
Automating Responsive Web Application is important as the most of the users access the application through mobile devices only & it will keep growing in the future. I hope the above page objects design helped you to understand how we could we design this type of testing in our current automation framework.
Happy Testing & Subscribe 🙂
My intention is to run the suite once and test all screen resolution provided. How can i provide all resolution and where should i.
It is possible by providing a list of resolutions as test input parameters
Hi,
I am very new to Selenium & Java. So as you said I created project but I am getting following error
Parameter ‘dimension’ is required by @Configuration on method beforeTest but has not been marked @Optional or defined
So what need to do this,
If you have a testng method parameter, you need to pass via suite file or you need to have default value.
Check this – https://stackoverflow.com/questions/22229073/parameters-is-passing-default-value-in-testng
Few things are not explained :
1) How to create baseline image using ocular ?
2) Resolution wise how to maintain ?
Do you have sample working github repo which you can share?
You need to read the documentation on GitHub. Everything is explained.