


Overview:
One of the most common challenges with test automation is dealing with test flakiness! People who have done some automation or developers who have worked on multi-threaded application development can only understand the pain! It is painful because there are 2 different processes (test scripts in your favorite language & the browser driver) trying to talk to each other! So one might have to wait for other to be in desired state!
Usual Wait Techniques:
Page Synchronization is not very difficult as it might sound! There are many ways to handle the situations.
- Thread.sleep() – This is something like Alcohol! We know that Consuming Alcohol is injurious to health. But we still have that! Similarly we all use ‘Thread.sleep’ in our script once in a while even if we know that it is brittle and but we never accept to others we use it! It might get the job done sometimes, but affects the performance of the scripts very badly & does not produce consistent test results! [That is what flakiness is, right?]
- Implicit Wait – WebDriver is configured with specific duration for timeout to find an element. The timeout is used throughout the test script! Again, it is not a good idea & it affects the performance of the test scripts very badly!
- Explicit Wait – We use ExpectedConditions api along with WebDriverWait to make the driver wait for specific conditions like element becomes visible, expected text to appear etc! Compared to the above approaches, this is definitely better! But sometimes we might end up writing many lines of code using this lib.
- Fluent Wait
I personally use the Arquillian Graphene library which has much better synchronization methods in fluent API style – which makes the code looks neat and clean. You can check here.
If you do not want to use Arquillian for some reason, then you can take a look at this Awaitility library. Lets see how we could handle the page synchronization using this library in this article.
Using Awaitility:
- Include below dependencies in your pom file.
<dependency>
    <groupId>org.awaitility</groupId>
    <artifactId>awaitility</artifactId>
    <version>3.0.0</version>
</dependency>
<dependency>
    <groupId>org.awaitility</groupId>
    <artifactId>awaitility-proxy</artifactId>
    <version>3.0.0</version>
</dependency>- Add the below static imports to use the Awaitility effectively.
import static org.awaitility.Awaitility.*;
import static org.awaitility.Duration.*;
import static java.util.concurrent.TimeUnit.*;
import static org.hamcrest.Matchers.*;
import static org.junit.Assert.*;
Awaitility with WebDriver:
Waiting For Element To Appear:
In the below example – As soon as you click on a ‘Download’ button – a File Download progress dialog appears. We are waiting for the File download progress bar to show the Complete! message.


driver.get("http://www.seleniumeasy.com/test/jquery-download-progress-bar-demo.html");
driver.findElement(By.id("downloadButton")).click();
WebElement progress= driver.findElement(By.cssSelector("div.progress-label"));

// Wait for the download to complete - max 20 seconds
await("Download did not complete within 20 seconds").atMost(20, TimeUnit.SECONDS)
                                                    .until(progress::getText, is("Complete!"));

//Did you notice? The robust wait statement is just an one-liner! It looks neat and clean!
System.out.println("DONE!!");
Waiting For Element To Disappear:
In the below example, whenever you click on the ‘Get New User’ button, an AJAX request is made to get a new user information. A loading message is shown as shown below till the request is complete. So if we need to automate this flow – you need to wait for the loading message to disappear.
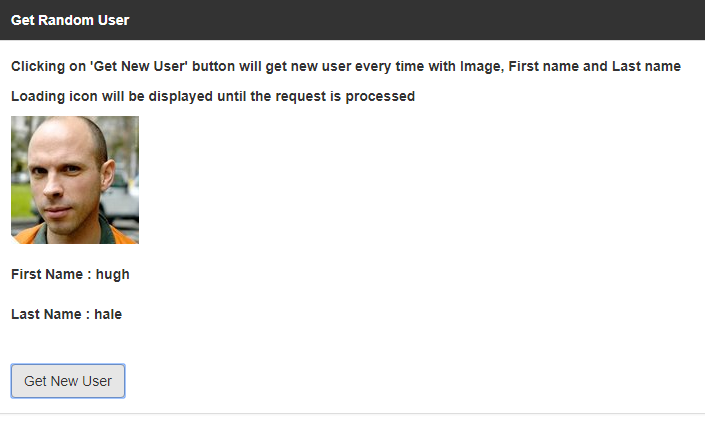
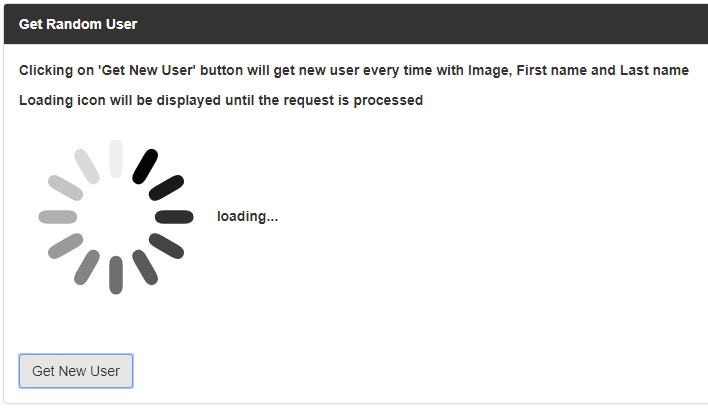


driver.get("http://www.seleniumeasy.com/test/dynamic-data-loading-demo.html");
WebElement newUserBtn = driver.findElement(By.id("save"));
WebElement loadingElement = driver.findElement(By.id("loading"));

// Get a new User
newUserBtn.click();

//Wait for the loading to disappear
await("Wait for new user to load").atMost(5, SECONDS)
.until(loadingElement::getText, not("loading..."));- I clicked on the ‘Get New User’ 20 times in a loop – It worked like charm.
for(int i=0; i<20; i++){
    newUserBtn.click();
    await("Wait for new user to load").atMost(5, SECONDS)
                                      .until(loadingElement::getText, not("loading..."));
}

Ignoring Exceptions:
In the below example, we wait for the alert to appear – when we try to switch to alert when it is not present, it throws an exception – we handle that using ‘ignoreExceptions()’
driver.get("http://www.seleniumframework.com/Practiceform/");
WebElement alertButton = driver.findElement(By.id("timingAlert"));

//To check if alert is present - By the way, predicates are cool!
Predicate<WebDriver> isAlertPresent = (d) -> {
    d.switchTo().alert();
    return true;
};

//click - alert appears after 3 seconds
alertButton.click();

//wait for 5 seconds - ignore alert not present exception
await("Wait for alert").atMost(5, SECONDS)
                       .ignoreExceptions()
                       .until(() -> isAlertPresent.test(driver));

driver.switchTo().alert().accept();
At Least Check:
Lets say we have a requirement to show the alert only after 2 seconds – It should not appear before that. Awaitility can verify that too!
//alert should not appear within 2 seconds - max 5 seconds - ignore alert not present exception
await("Wait for alert").atLeast(2, SECONDS)
                        .and()
                        .atMost(5, SECONDS)
                        .ignoreExceptions()
                        .until(() -> isAlertPresent.test(driver));
Periodic Check:
Lets assume that – a button click triggers a Welcome EMail which you need to validate as part of your automated test. As you know, It might take sometime to receive an email – we need to check for an email at regular intervals until the given timeout period.
await().atMost(2, MINUTES)          // max wait
      .pollDelay(5, SECONDS)        // do not check immediately - wait for 5 seconds for the first time
      .pollInterval(10, SECONDS)    // check every 10 seconds
      .until(() -> {                // until email is received
         return EMailUtil.hasEmailReceived("Welcome Email");
      });
Downloading File:
Sometimes, you click on a link to download a file. Once the download starts, then you can not control via selenium API. You might need to check if the download is complete.
Path filePath = Paths.get(".", "filename");
await().atMost(1, MINUTES)
        .ignoreExceptions()
        .until(() -> filePath.toFile().exists());
Summary:
Awaitility is a cool library with a lot of features. This was a quick tutorial. I might not be able to cover all the possible combinations in this. But hopefully you got the idea! I would suggest you to read more on this wiki. You could also combine this lib with ExpectedConditions API to write a better readable code.
All the best for you to have a robust test suite with Awaitility!
Happy Testing & Subscribe 🙂