


Goal:
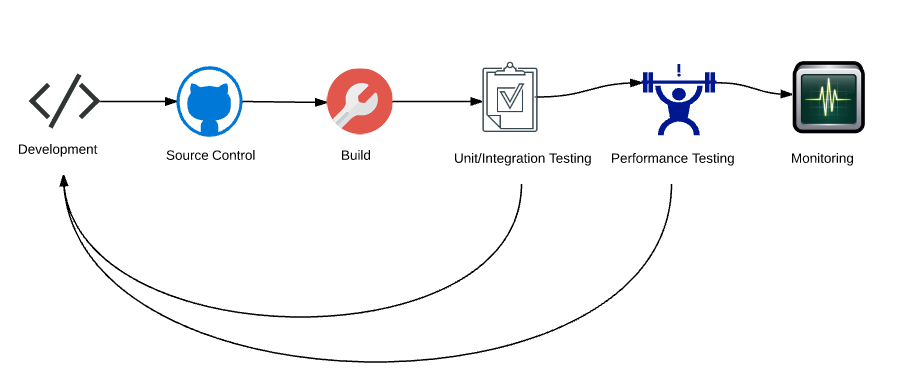
To create a Continuous Delivery Pipeline which includes Performance Testing process to detect any performance related issues as early as possible.

Usually the full scale Performance Test will be done in the Staging/Pre-Production environment which could be identical to your Production environment. Code push to Staging happens after thorough QA functional/regression verification is done. So even if QA certifies the build, there is a chance that code might not work as expected at certain load which could be found only in Staging environment. This performance issue requires code change -> build -> QA verification once again which could postpone your Production push!
So, Can we fit the performance testing into the existing continuous development & testing process to detect the performance issues as early as possible?
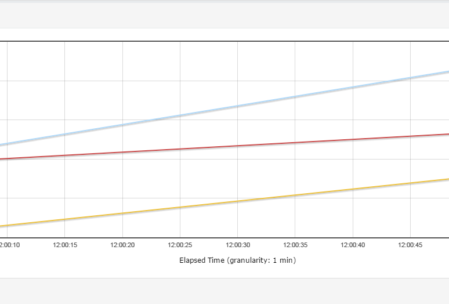
Yes! We absolutely can! The idea here is to run the performance test in the lower environments [Dev/QA] (we might have to adjust the load accordingly) & to compare the results against some baseline metrics. Note that this is NOT going to replace the full scale performance test which we will do in the Staging environment.
Lets see how we can implement the above process in this post by using JMeter + Ant + Jenkins.
Create Performance Test Script:
- Create some basic performance test script using JMeter.
- Check below useful articles from TestAutomationGuru.
- Creating Modular JMeter Test Scripts.
- Ensure that the script can be run on any given environment like QA/PPE/Staging etc. [Check here]
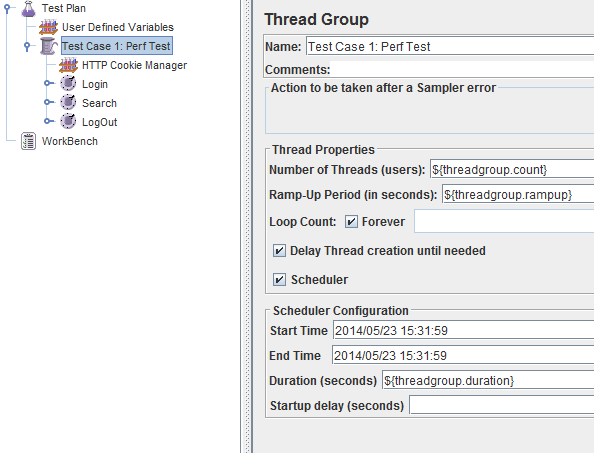
- I am going to consider a simple JMeter test which will login, search for a product and logout.
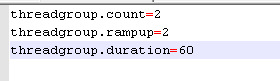
- I have used variables in the Thread Count, Ramp Up and Duration fields.
- At run time, we will pass values for those variables from Jenkins.
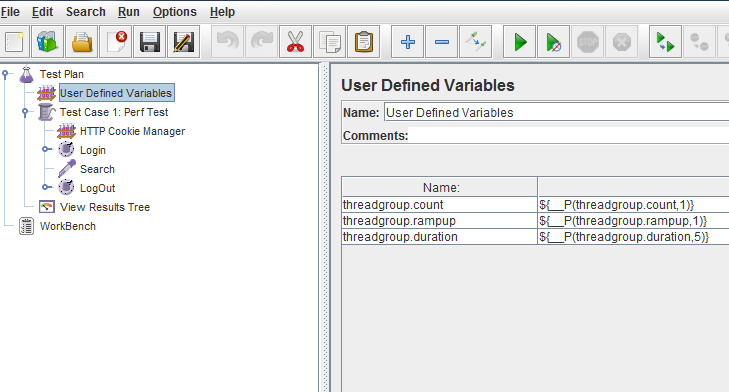
- To run the test in design mode/standalone mode, We use User Defined Variables as shown here. So, it takes the default values (like 1 user with 1 second ramp-up for 5 seconds test duration).
- Ensure that the scripts runs fine.


Running JMeter test using ANT:
ANT: It is a build tool – here we will be using ANT to execute a set of tasks in the given order. For ex:
- Cleaning the project by removing the temp files for a fresh test.
- Running the test by passing the test properties from Jenkins to JMeter.
- Creating reports
- Creating charts
You would be calling these tasks once you are done with the build and unit/integration tests.
Install ANT:
- Download Ant from here.
- Uncompress the downloaded file into a directory.
- Set environmental variables
- JAVA_HOME to your Java environment
- ANT_HOME to the directory you uncompressed Ant
- Add ${ANT_HOME}/bin (Unix) or %ANT_HOME%/bin (Windows) to your PATH.
- If you do not have a JMETER_HOME variable, please set that too. It should point to the JMeter folder where you see ‘bin’
- In the cmd prompt/terminal, type ant and enter as given below. You should see below message (The system should know that there is an ‘ant’ command)


Create ANT-JMeter Project:
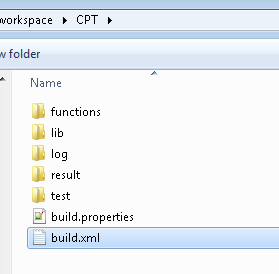
Now we are going to create an ANT project as given below. [I have shared this sample project in GitHub]
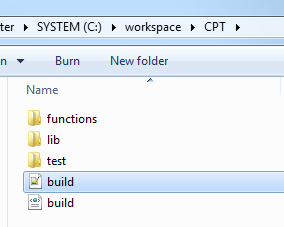

lib folder will have all the libs required for ant-jmeter task + any other libs you want to include for your jmeter test.
function folder will have all the beanshell scripts for your test.
build.properties A property file which is going to pass the values for JMeter UDV.

ANT Build file:
This is an important part. Ant needs a build.xml file (it does not have to be ‘build.xml’ – but that is a default name ant will expect) where you have all the tasks defined.
Lets create a build.xml file as given below. [I have shared this sample project in GitHub]
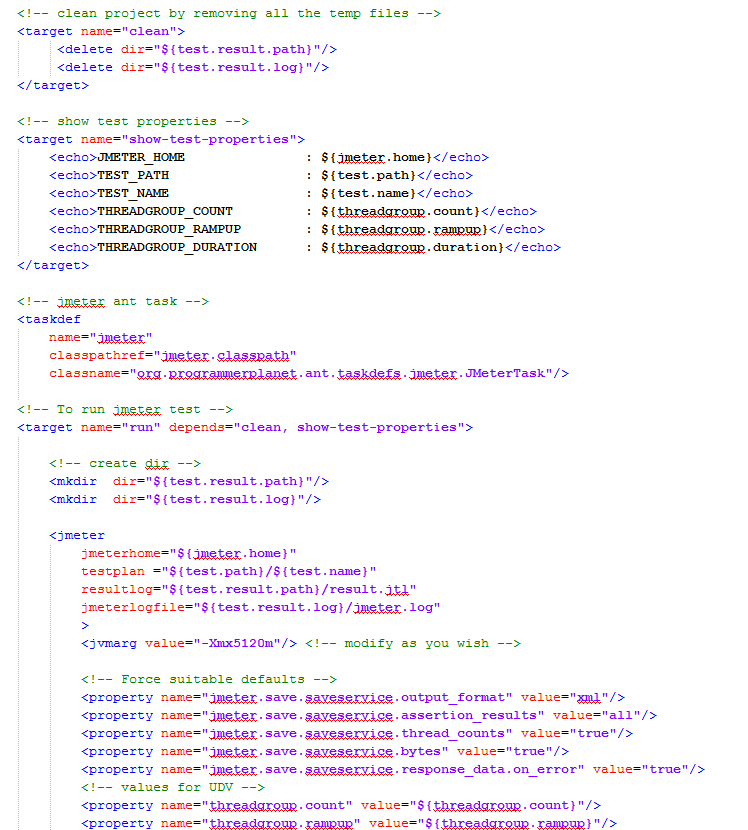

We have 3 targets here.
- clean -> cleaning the temp folders created as part of our test
- show-test-properties -> Displays the values we pass to the test
- run -> Runs the jmeter test
Now in the command prompt/terminal, go to the project folder and type ‘ant show-test-properties‘. You should see below output.


ANT: Run JMeter Test:
Lets run the test by issuing command:
ant run


Now we can see we have the log and result files created.


Creating HTML Report:
Run below command to generate the HTML report under output folder
ant generate-report
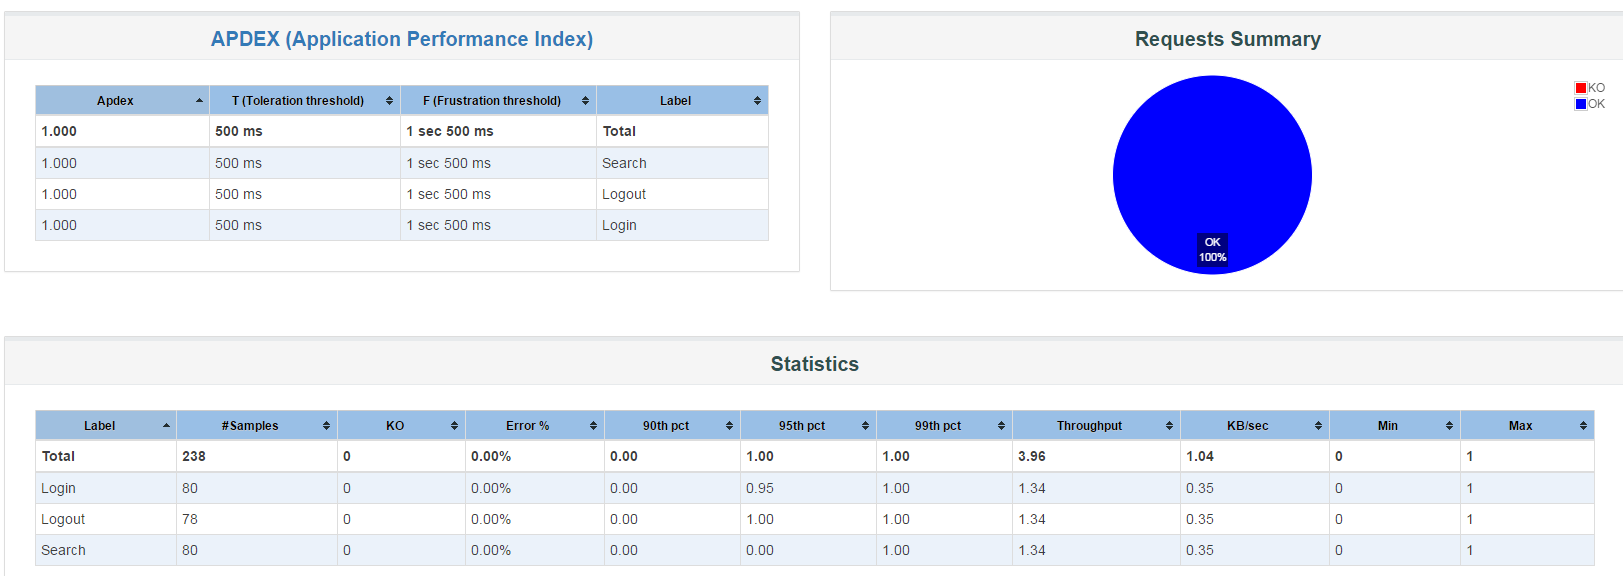
ant console log:


Report:

Creating Charts:
The above HTML file itself has nice charts. However you still might want to create charts through command-line to send via emails/slack etc.
To create charts, we need few external plugins.
Run below command to install the required plugins.
ant install-plugins
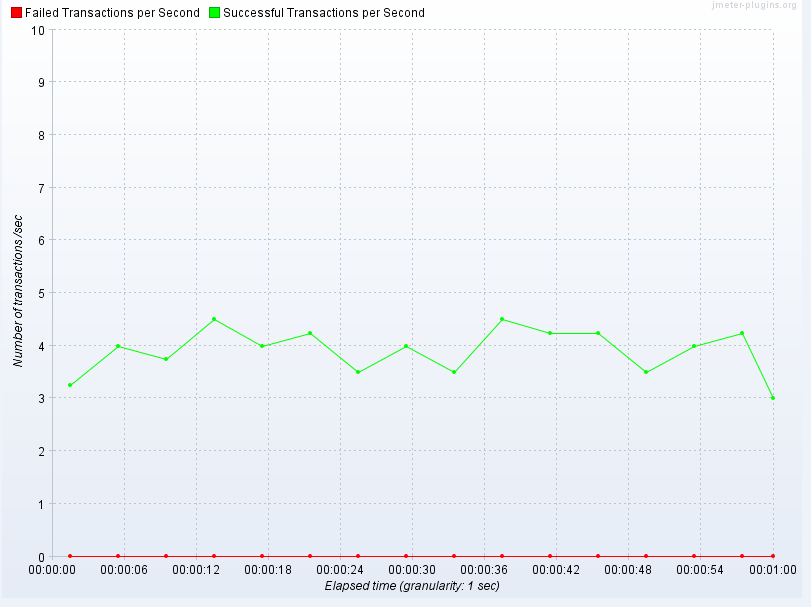
Once plugins are installed, Generate charts by issuing command:
ant generate-charts
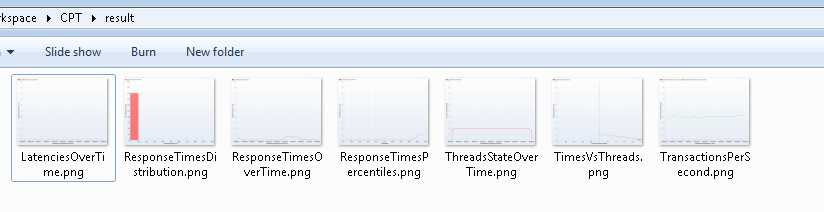
Once the job is complete, We can see all the charts we wanted are generated and placed under the result folder.


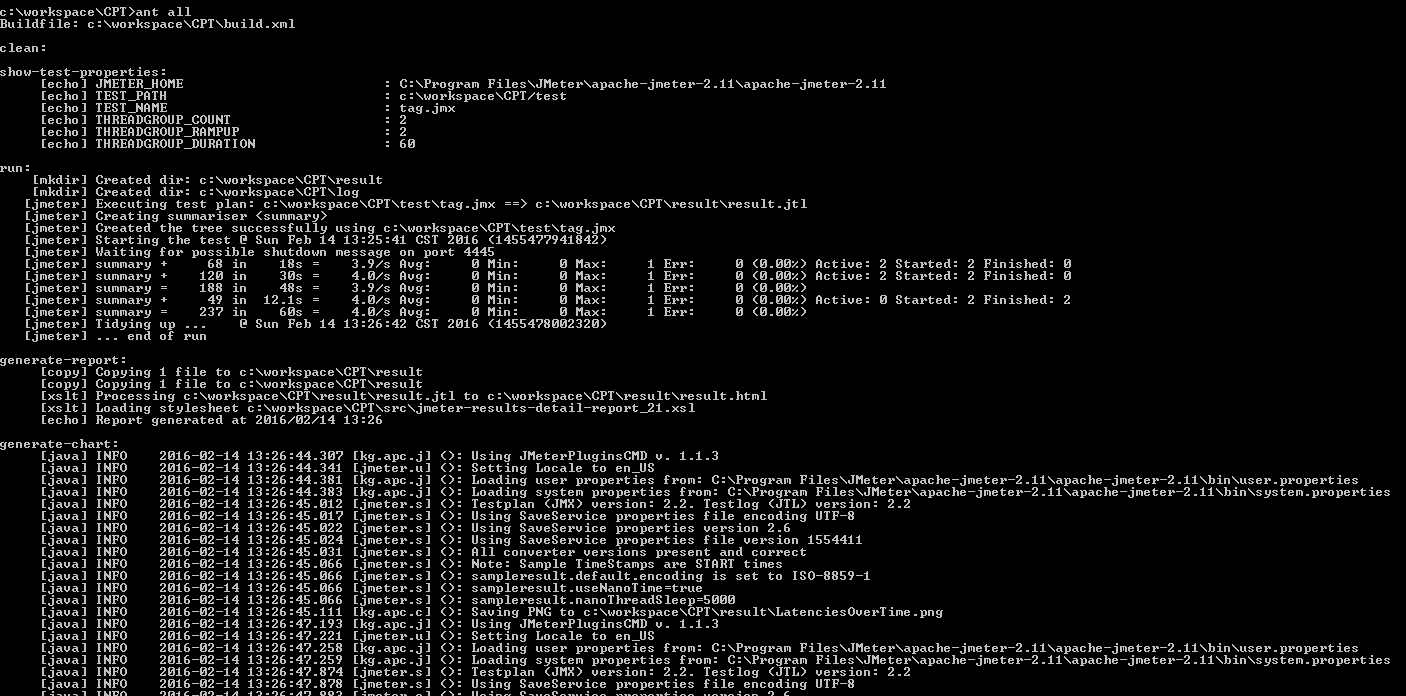
ANT – Running all tasks sequentially:
Run all ant tasks by issuing a command: ant all

Sample Project:
- You can clone this sample project from here.
- I am allocating 5GB memory for JMeter test. You can modify the value as you wish in the build.properties
Having Issues?
- I see some comments from the readers that JMeter task is not executed by Ant. If possible, upgrade Java & Ant. [Some version of Java 8 & ant did not get along]
- If it still does not work, execute the task below command to enable ant to provide us more information to debug.
ant -v run
Summary:
Now we will be able to run our JMeter test by passing the test properties from a property file through ANT. We also have automated creating HTML file and creating charts from the result file.
We will see how to invoke this test from Jenkins in the next post.
Thanks to [Ref: http://www.programmerplanet.org/projects/jmeter-ant-task/]